Wedding nails can be so much fun! Depending on your personality and what you feel comfortable wearing, you can go with a simple design or something more elaborate. If you’re looking for ombre wedding nail designs that are both chic and timeless, keep reading. We’ve gathered some of the best ideas to help inspire you. Read on for inspiration!
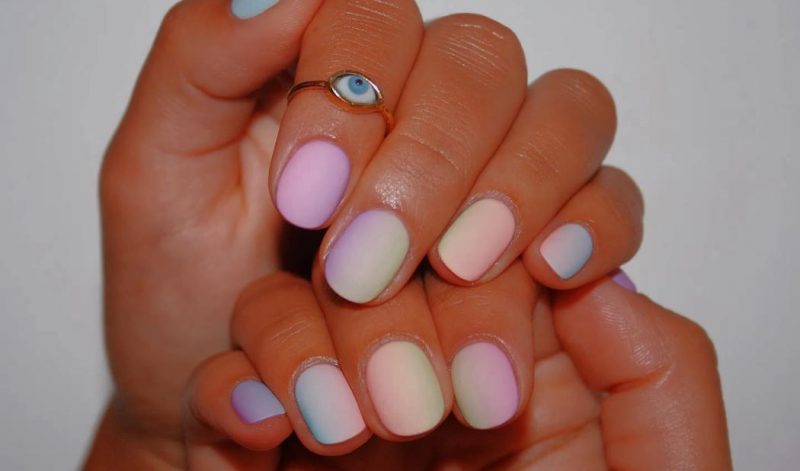
Ombre nail ideas for a natural bridal look
- Ombre wedding nails with rhinestones
Adding some rhinestones is the way to go if you want to add a touch of glamour to your ombre wedding nails. You can either add them to the tips of your nails or cover your entire nail with them. Either way, they’ll look stunning and help you stand out from the crowd.
- Ombre wedding nails with pearls
Pearls are another great way to add a touch of luxury to your ombre wedding nails. Again, you can either add them to just the tips or cover your entire nail with them. Either way, they’ll look beautiful and help you create a truly unique look.
- Ombre wedding nails with lace
Lace is a timeless material that always looks elegant, so it’s no surprise that it’s a popular choice for ombre wedding nails. You can either add some lace to just the tips of your nails or cover your entire nail with it. Either way, it’s sure to create a stunning look.
- Ombre wedding nails with sparkles
Sparkles are the perfect way to add some glamour to your ombre wedding nails. You can either add them to the tips of your nails or cover your entire nail with them. Either way, they will help you stand out from the crowd.
- Ombre wedding nails with glitter
Glitter is another excellent way to add some glamour to your ombre wedding nails. You can either add it to the tips of your nails or cover your entire nail with it. Either way, it will help you create a truly unique look.
- Ombre wedding nails with stripes
If you want your ombre wedding nails to have a more playful feel, adding some stripes is the way to go. You can either add them to the tips of your nails or cover your entire nail with them. Either way, they’re sure to help you create a fun and unique look.
- Ombre wedding nails with polka dots
Polka dots are another great way to add a touch of playfulness to your ombre wedding nails. You can either add them to the tips of your nails or cover your entire nail with them. Either way, they’re sure to help you create a fun and unique look.
- Ombre wedding nails with beads
Beads are a great way to add texture and interest to your ombre wedding nails. You can either add them to the tips of your nails or cover your entire nail with them. Either way, they’re sure to help you create a truly unique look.
- Ombre wedding nails with sequins
Sequins are another great way to add some texture and interest to your ombre wedding nails. You can either add them to the tips of your nails or cover your entire nail with them. Either way, they’re sure to help you create a truly unique look.
Steps to a perfect ombre wedding manicure
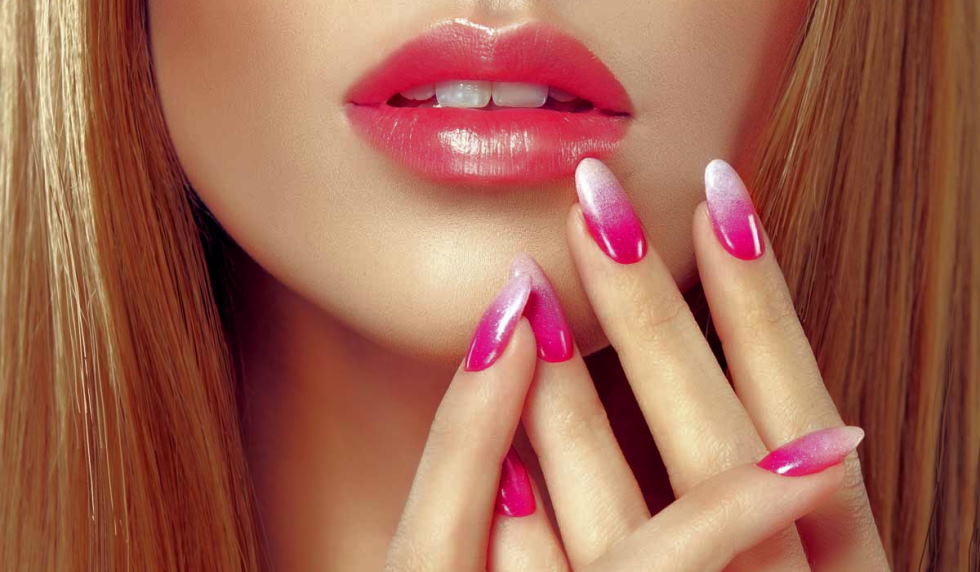
- Choose your colors. The key to a perfect ombre manicure is choosing the right colors. You’ll want to pick two colors complimenting each other and make a gradient when mixed. For example, try a light pink and peach for a summery look, or for a more dramatic look, go for a deep purple and black.
- Prep your nails. Before painting your nails, ensure they’re clean and free of any oils or debris. This will help the polish adhere better and prevent any lumps or bumps in the final product.
- Paint your base color. Apply your chosen base color to all of your nails and allow them to dry completely. This will be the lighter of the two colors in your ombre manicure.
- Add your second color. Once the base color is dry, it’s time to add the second color. Begin by painting a band of color around the edge of each nail. Then, lightly blend the colors together in the middle of each nail using a cotton swab or makeup sponge.
- Finish with a top coat. Apply a clear top coat over the entire manicure to seal your design and give it a glossy finish. Allow it to dry completely before admiring your handiwork!